Little Planet
Development Through Photoshop
Beginning Image

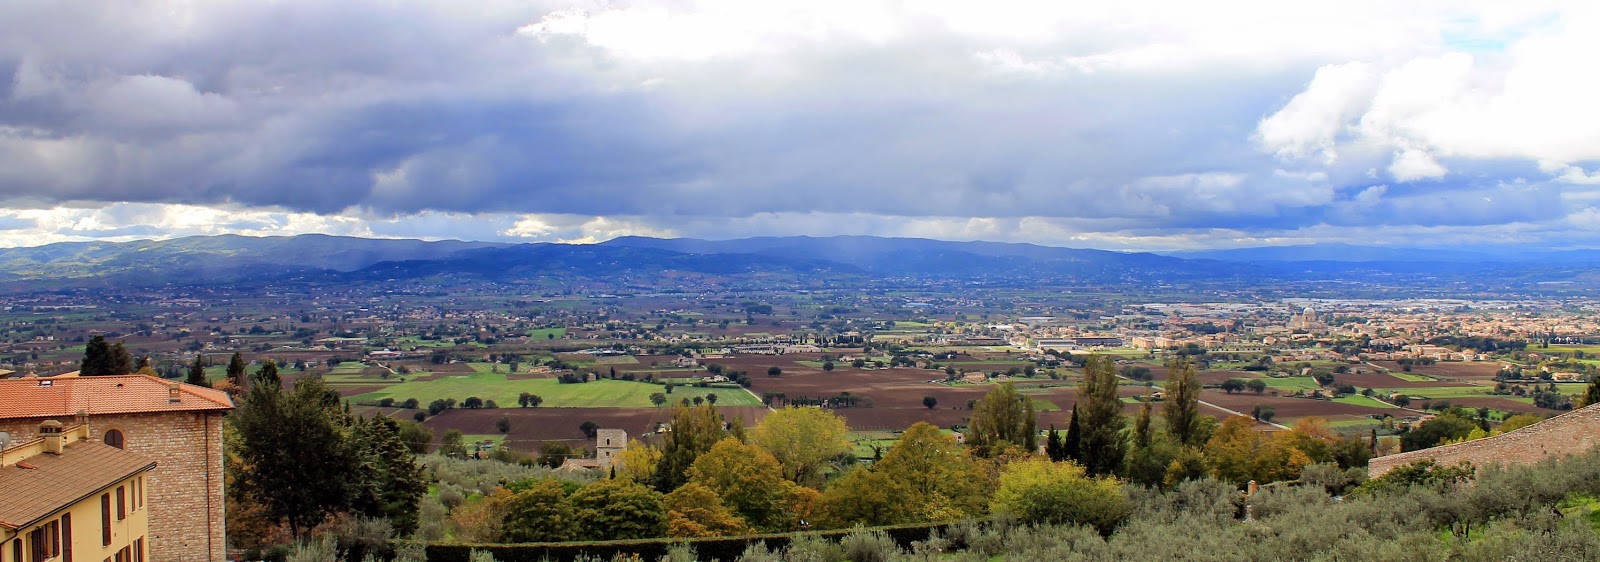
The aim for this assignment was to turn a panoramic image into a circle using Photoshop, to resemble a planet. I started with a panoramic landscape photograph with a lot of sky.

I started by making the image square, I did this by going to Image > Image Size. I unchecked the constrain proportions icon, then set the height to match the width.

I then turned the image upside down by going to Image > Image Rotation > 180 degrees. This is to make sure the image wraps the right way when I made my planet.

I then applied the Polar Coordinates filter. I did this by going to Filter > Distort > Polar Coordinates, then pressing 'ok'.


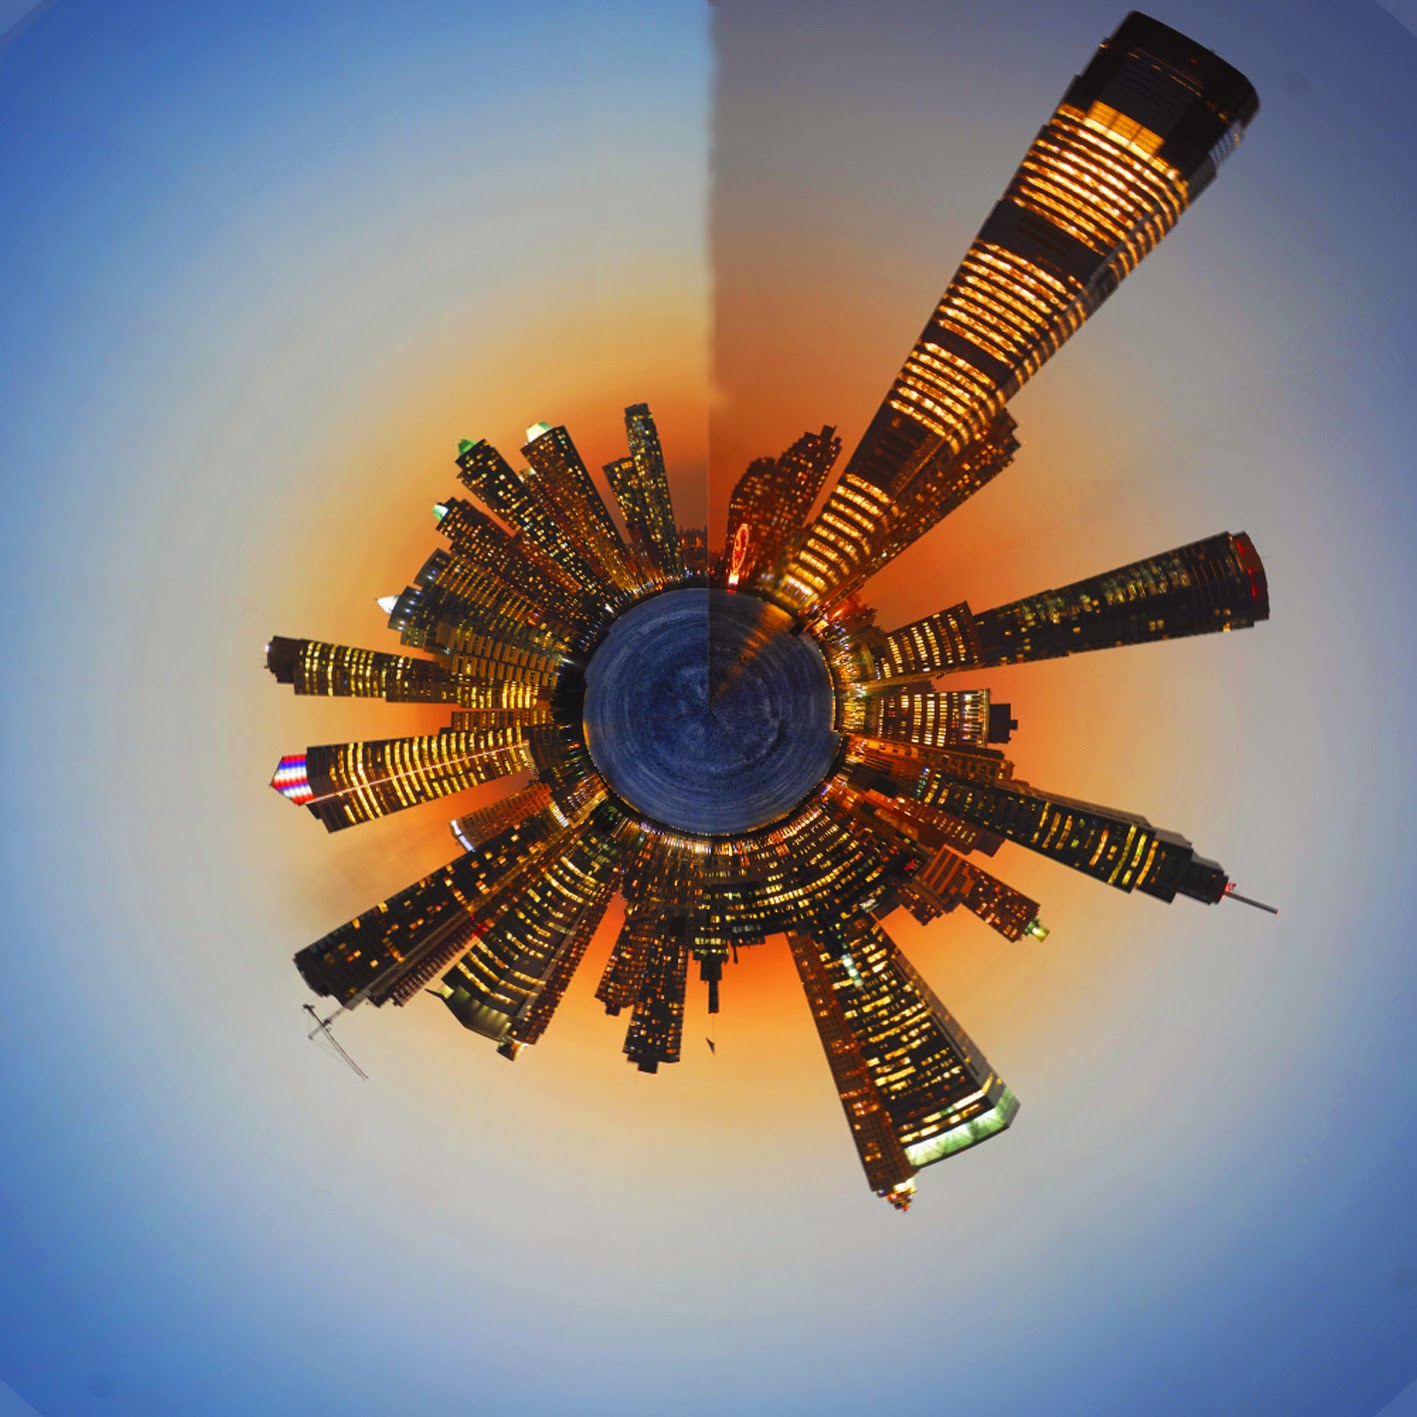
This is my final outcome. I'm happy with how it turned out even if the colours in the sky don't match very well.

To create these 'little planets' I chose panoramic photos from the internet with a large file size, this is so the little planet turned out really clear and not pixelated. I chose 6 images altogether to work with incase some didn't turn out as good as others. 2 out of the 6 images didn't turn out very well but the other 4 turned out really effective.
Failed Images

Final Images


Using My Own Images
Shutter Speed: 1/160
Aperture: F7.1
ISO: 100
ISO: 100
Date Taken: 26/10/2012
Location: Venice, Italy
Location: Venice, Italy


Shutter Speed: 1/100
Aperture: F6.3
ISO: 100
Date Taken:28/10/2012
Location: Florence, Italy
Location: Florence, Italy


Shutter Speed: 1/125
Aperture: F10.0
ISO: 100
Date Taken: 29/10/2012
Location: Italy
Location: Italy

Shutter Speed: 1/170
Aperture: F2.4
ISO: 50
Date Taken: 25/06/2014
Location: Haw Wood Entrance, Bristol
Location: Haw Wood Entrance, Bristol


Shutter Speed: 1/500
Aperture: F3.5
ISO: 100
Date Taken: 17/12/2014
Location: College Green, Bristol
Location: College Green, Bristol
.jpg)
%2Bcopy.jpg)
Shutter Speed: 1/680
Aperture: F2.4
ISO: 200
Date Taken: 17/05/2015
Location: Brentry, Bristol
Location: Brentry, Bristol


Evaluation:
I really enjoyed this project because I found it really simple but also really interesting seeing what different pictures looked like as 'little planets'. I chose to also use my own photographs to do this so I could experiment further, I'd never used these Photoshop techniques before so that's something new I've learnt.
Reflections
Andre Kertesz

Born: 2nd July 1894; Budapest, Austria-Hungary
Died: 28th September 1985 (aged 91); New York
Andre Kertesz born Kertesz Andor, was a Hungarian photographer known for his groundbreaking contributions to photographic composition and the photo essay. Kertesz never felt that he had gained the worldwide recognition he deserved. Today he is considered one of the seminal figures of photojournalism. Known for his extended study of Washington Square Park and his distorted nudes of the 1930's, Kertesz was a quiet but important influence on the art of photography. Though he spent most of his life in the United States, his European modernist sensibility is what made him great, and that is what he is remembered for today.
"The most valuable things in life are a man's memories. And they are priceless."
"I do what I feel, that's all. I am an ordinary photographer working for his own pleasure. That's all I've ever done."
I really like that Kertesz's work is black and white because I find this more visually pleasing and I find that colour can be quite distracting. You can tell by his work that he really thinks about his compositions and vibes in each image. His work has definitely given me inspiration for my reflection shoot.


Mind Map and Planning

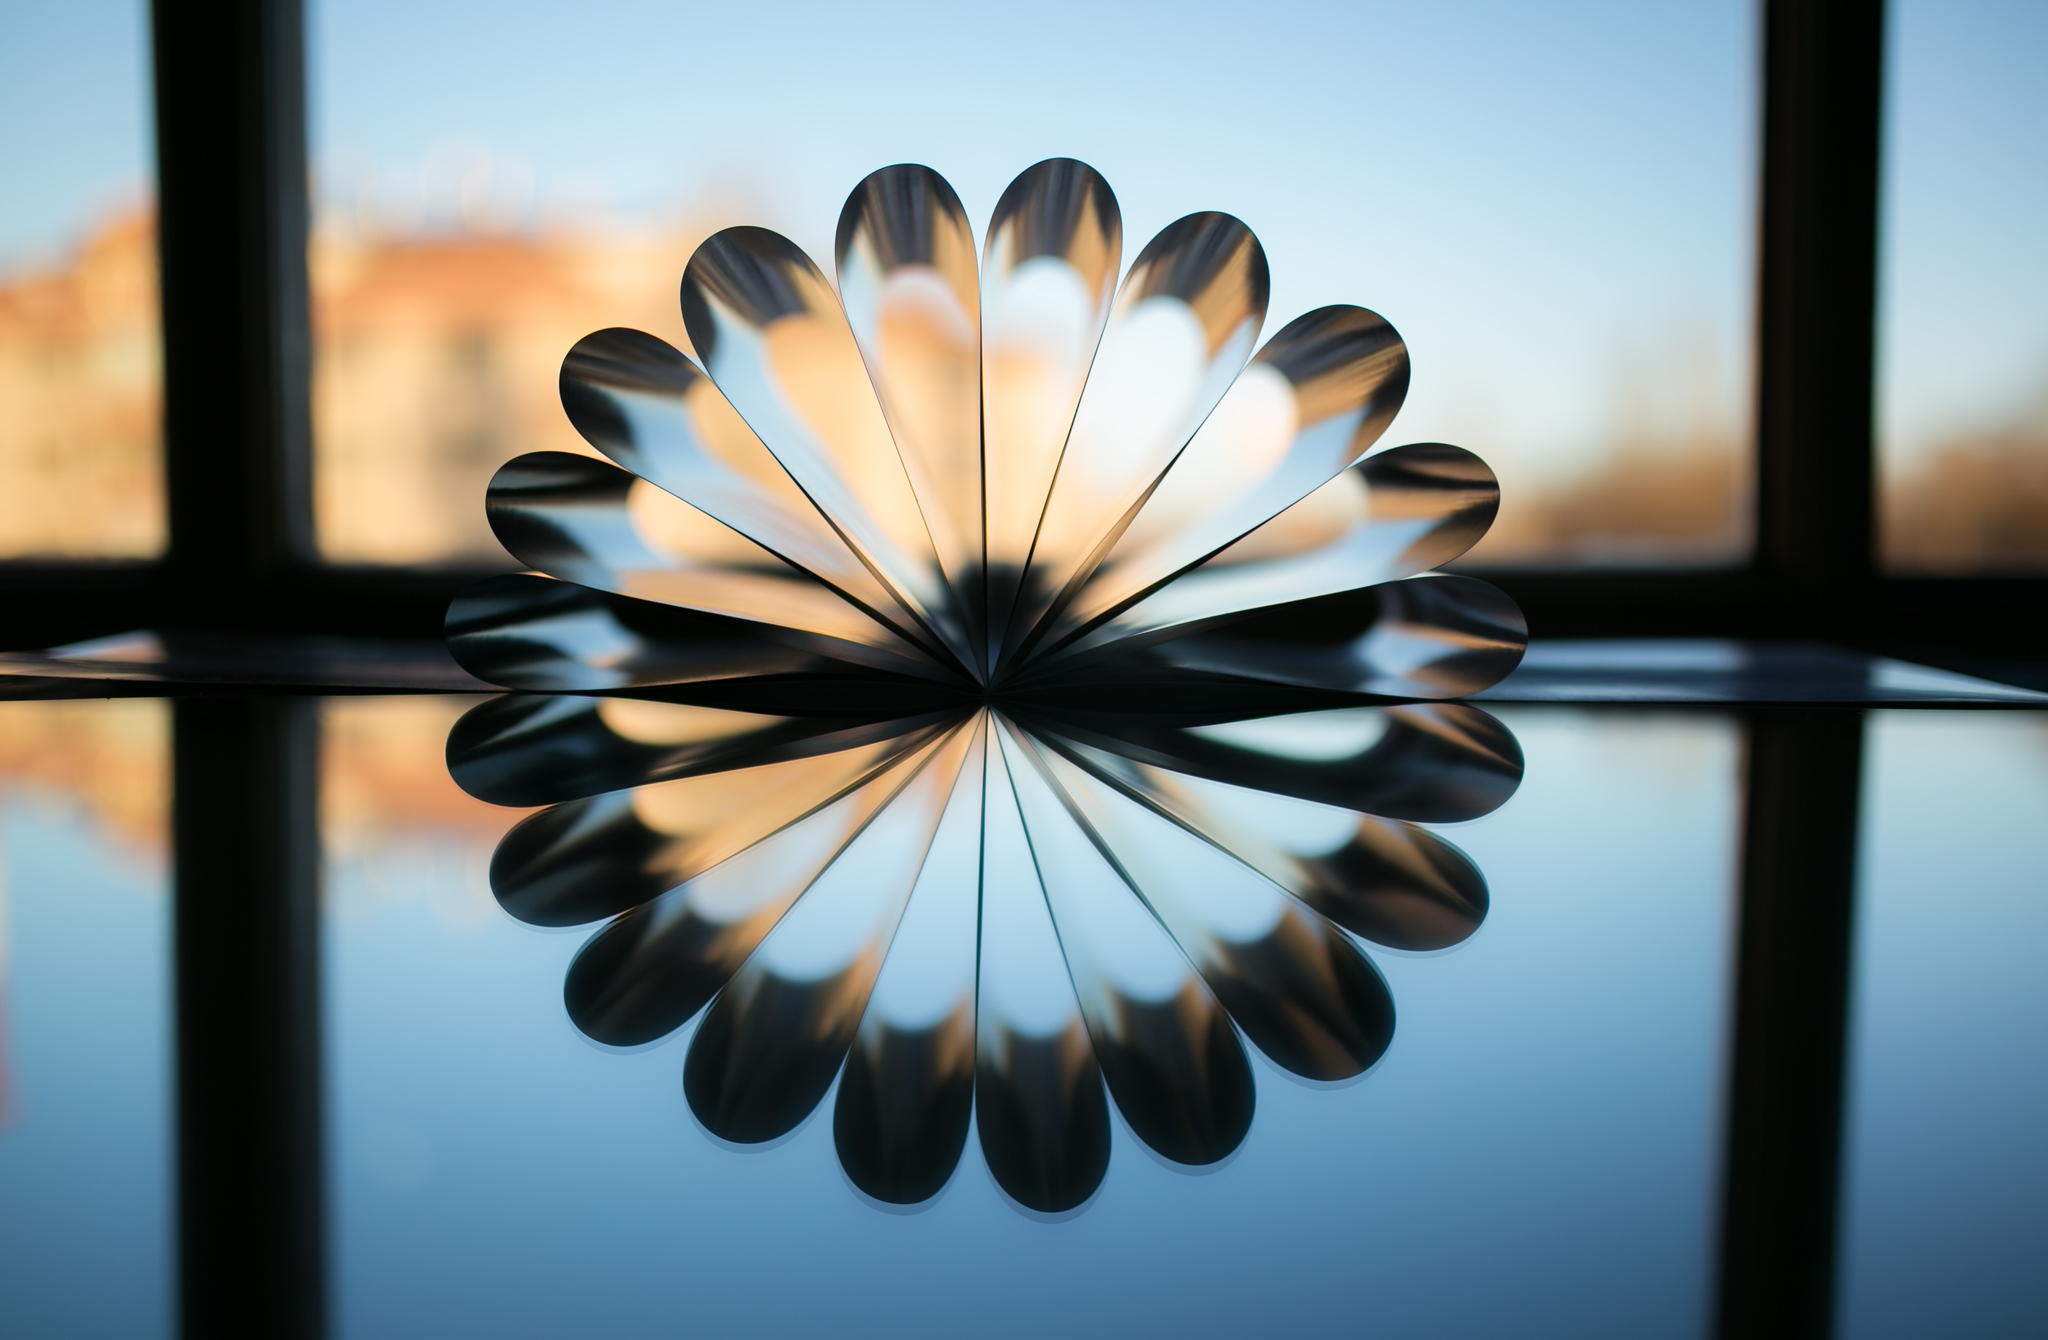
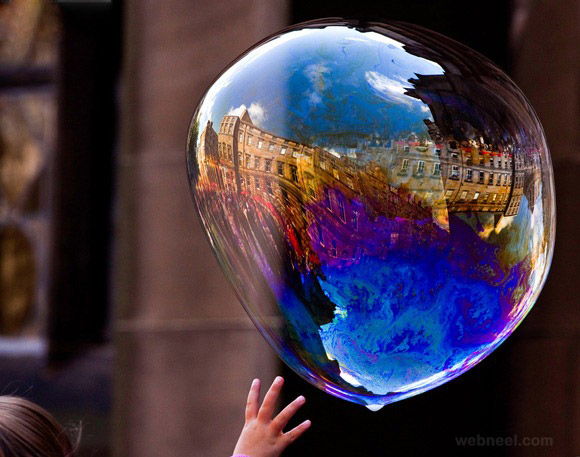
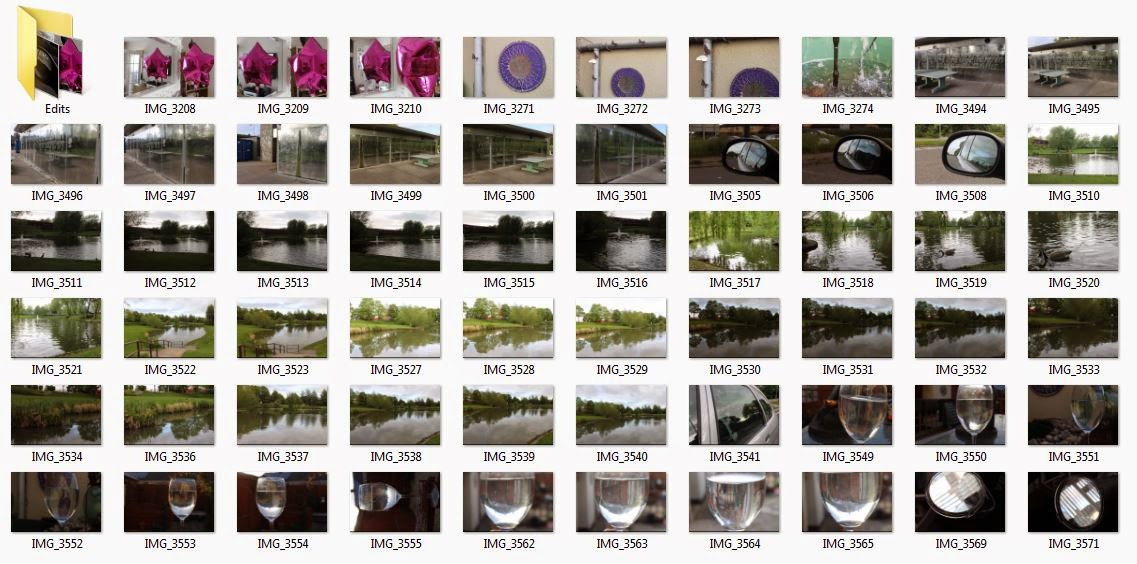
For my reflections shoot I decided that I wouldn't have a set theme, instead I decided that I'd take pictures relating to most of the ideas on my mind map and also the pictures below.




Contact Sheet

Final Images

Shutter Speed: 1/40
Aperture: F4.0
ISO: 2000
Date Taken: 13/05/2015
Location: Home
Location: Home

Shutter Speed: 1/60
Aperture: F11.0
ISO: 100
Date Taken: 17/05/2015
Location: Blaise Castle, Bristol
Location: Blaise Castle, Bristol

Shutter Speed: 1/60
Aperture: F11.0
ISO: 100
Date Taken: 17/05/2015
Location: Aztec West Roundabout, Bristol
Location: Aztec West Roundabout, Bristol

Shutter Speed: 1/60
Aperture: F11.0
ISO: 1600
ISO: 1600
Date Taken: 17/05/2015
Location: Aztec West Lake, Bristol
Location: Aztec West Lake, Bristol

Shutter Speed: 1/60
Aperture: F11.0
ISO: 200
Date Taken: 17/05/2015
Location: Aztec West, Bristol
Location: Aztec West, Bristol

Shutter Speed: 1/60
Aperture: F11.0
ISO: 100
Date Taken: 17/05/2015
Location: Home
Location: Home

Shutter Speed: 1/60
Aperture: F11.0
ISO: 100
Date Taken: 17/05/2015
Location: Home
Location: Home

Shutter Speed: 1/60
Aperture: F11.0
ISO: 2500
Date Taken: 17/05/2015
Location: Home
Location: Home

Shutter Speed: 1/100
Aperture: F18.0
ISO: 200
Date Taken: 18/05/2015
Location: A4, Bristol
Location: A4, Bristol

Shutter Speed: 1/125
Aperture: F11.0
ISO: 100
Date Taken: 18/05/2015
Location: Anchor Road, Bristol
Location: Anchor Road, Bristol

Shutter Speed: 1/250
Aperture: F14.0
ISO: 400
Date Taken: 18/05/2015
Location: Anchor Road, Bristol
Location: Anchor Road, Bristol

Shutter Speed: 1/250
Aperture: F14.0
ISO: 400
Date Taken: 18/05/2015
Location: Anchor Road, Bristol
Location: Anchor Road, Bristol
Development Through Photoshop
Firstly I adjusted the brightness and contrast of the image by going to Image > Adjustments > Brightness/ Contrast, this made the image look much better and brought out the details of the image.

Next I went to Image > Mode > Grayscale to make the image black and white, I think this looks much better than colour because the colour distracts your eyes from the details.

I then changed the levels of the image by going to Image > Adjustments > Levels, I brought the levels down to make the image darker and really bring out the details even more.

This is the final result and I'm happy with how this image turned out, the details in the reflection of the water really stand out and make this image really effective.

Shutter Speed: 1/60
Aperture: F11.0
ISO: 500
ISO: 500
Date Taken: 17/05/2015
Location: Aztec West, Bristol
Location: Aztec West, Bristol
Evaluation:
I've never really taken pictures of reflections before so this was a new and exciting assignment which I really had to think about whilst doing my research and planning. I think I worked well on my planning and my final photos. I really enjoyed this assignment and I've learnt how to approach tasks in new and different ways, whilst taking my photos I started noticing beautiful reflection compositions I'd never really taken notice of before. I've managed my time well and I'm really happy with my final outcome.
Blurred Photography
Research

I like the colours and lighting of this image but I think it's slightly too out of focus. You can just about make out the shapes in the photo but you can't make out what it is.

I really like the composition and colours of this image, the colours and lighting give a sparkly effect to the photo. I would like to take photos similar to this in my shoot.

I like the darkness and mysterious mood of this image, it has a good composition and isn't too out of focus.

I like the focus and composition of this image but it could be slightly brighter, to give a happier mood and to make the picture the slightest bit clearer.

This image has a good composition and good lighting, the colours give the photo a vintage feel.

I like how a small part of this image is in focus and the rest is out of focus, the colours and lighting give the photo a really happy bright feel. I would like to use similar techniques in my photos.

I like the lighting and happy vibe of this photo, and I think the photographer has used a really effective focus and composition.

I like how this image is partially in focus and partially out, I also really like the lighting and effective use of colour. I would like to use similar techniques as this photo.
Planning
.jpg)
I decided that like my last shoot I wouldn't have a set theme for this shoot also, I decided my shoot would involve most of the ideas on my mind map.
Contact Sheet

Final Images

Shutter Speed: 1/80
Aperture: F6.3.0
ISO: 100
Date Taken: 13/05/2015
Location: Home
Location: Home

Shutter Speed: 1/125
Aperture: F8.0
ISO: 100
Date Taken: 13/05/2015
Location: Home
Location: Home

Shutter Speed: 1/100
Aperture: F7.1
ISO: 100
Date Taken: 13/05/2015
Location: Home
Location: Home

Shutter Speed: 1/30
Aperture: F4.5
ISO: 3200
Date Taken: 13/05/2015
Location: Home
Location: Home

Shutter Speed: 1/60
Aperture: F11.0
ISO: 500
Date Taken: 14/05/2015
Location: St George's Rd, Bristol
Location: St George's Rd, Bristol

Shutter Speed: 1/60
Aperture: F11.0
ISO: 400
Date Taken: 14/05/2015
Location: St George's Rd, Bristol
Location: St George's Rd, Bristol

Shutter Speed: 1/60
Aperture: F11.0
ISO: 200
Date Taken: 17/05/2015
Location: Anchor Road, Bristol
Location: Anchor Road, Bristol

Shutter Speed: 1/200
Aperture: F9.0
ISO: 100
Date Taken: 18/05/2015
Location: Harbourside, Bristol
Location: Harbourside, Bristol

Shutter Speed: 1/200
Aperture: F9.0
ISO: 100
Date Taken: 18/05/2015
Location: Harbourside, Bristol
Location: Harbourside, Bristol

Shutter Speed: 1/160
Aperture: F7.1
ISO: 100
Date Taken: 18/05/2015
Location: Harbourside, Bristol
Location: Harbourside, Bristol

Shutter Speed: 1/200
Aperture: F10.0
ISO: 100
Date Taken: 18/05/2015
Location: Harbourside, Bristol
Location: Harbourside, Bristol
Evaluation:
At first I wasn't keen on the idea of this assignment because I thought blurred photography wouldn't look very effective but instead look quite boring/unprofessional. I found it hard at the start to think of ideas for my planning but once I'd started looking on the internet at images and writing down ideas they kept flowing. Even though I disliked blurred photography at first, once I started experimenting with different compositions I started to enjoy the assignment and realised that blurred photographs can actually be really effective. During this task I've learned to approach taking photographs in a different way and also looking at compositions from a different perspective. Altogether I enjoyed this assignment and I'm happy with my final photos.
Geometrical Portraits
Examples


My Geometric Portraits
For my geometric portraits I used portraits from Studio Techniques, I chose these images because they're really clear and of good quality, and the black studio backdrop would make these images effective to experiment with. To create these portraits all I did was use the Polygonal Lasso tool and the Marquee tools to select parts of the images, then copy and pasted those selections of the images until I was happy with the result.


Evaluation:
My feelings are neutral towards this task, I enjoyed creating my geometric portraits but I think it was slightly too easy and also too fast. Even though I didn't manage my time very well the assignment was still fun to learn new techniques and I'm happy with my final images.
Tilt-Shift
What is tilt-shifting?
Traditionally, a tilt shift lens is used to change how a camera focuses on a subject. The lens
literally tilts on a hinged axis, creating skewed focus. The effects can vary depending on the
angle of the lens, and when shooting from high angles can create a “miniature” effect on a scene. The ’toytown’ effect that you can get from using an expensive tilt-shift lens ‘incorrectly’ is addictive. But you can achieve a very similar look in Photoshop by blurring all but a small area of an image. For the most convincing effect, shoot the scene from a high viewpoint on a sunny day to heighten the ‘model village’ look.
Research

This image shows a beach with lots of people on, only the people are in focus and this is effective because it makes the people look like dolls.

This image shows a basketball game shot from above, only the front players are in focus which is very effective.

This image shows a street with cars and buses, and people walking on the sidewalk. Only the middle of the image is in focus which gives the effect of everything looking unrealistic.

This image shows cars and people beneath the Eiffel tower. Only the Eiffel tower is in focus which makes the whole scene look like a miniature film set.

This image shows lots of fire engines fighting a fire in what looks like New York, this image is shot from high up which makes everything look very small and toy-like.

This image shows an airfield shot from birds-eye view. Only the planes are in focus which makes this look very toy-like and unrealistic, but very effective.

This image shows a spiral staircase shot from above. It's effective because the centre of the image is in focus but the outside is blurred.

This image shows busy roads at night time being lit by street lights. Only the roads are in focus which gives a good tilt shift effect.
Creating Tilt-Shift Images
First I chose 6 images from the internet then edited them to give them a tilt shift effect. The first images are the originals and the second images are the edited versions.


Contact Sheet
I took my tilt-shift photos over the course of a few days. I started by taking simple photos from my bedroom window to get used to taking photos from above, I also took some photos of park street and a few of the traffic on my way home. Although these weren't taken from above or high up, I saw promising compositions in these photos and I knew they'd look effective with a tilt-shift effect. The second lot of photos I took were taken from the edge of Durdham Downs looking down on the Avon Gorge, and also from the Suspension Bridge also looking down on the Avon Gorge. I originally took 110 photos altogether but the majority of them were too similar so I only added the best photos to my contact sheet.


Development Through Photoshop
This is a tilt-shift Photoshop tutorial I have put together (with the help of the internet), I have shown step by step what I did to create my tilt-shift images with screenshots to help you navigate your way around Photoshop. When choosing a photograph for the tilt-shift effect, you must remember that you want it to represent a miniature model, so try and choose a photo with an elevated viewpoint. Buildings, roads, traffic and railways are excellent choices but make sure there is a reasonable wide angle of view.

I started using this picture of the portway beneath Avon Gorge which I took standing on the Suspension Bridge. I chose this image because it has a great composition and wide angle of view, and it's also very bright and clear. Even before I applied the tilt-shift effect, it's not hard to imagine the scene as if it were a model, because of the angle of the image.

I entered Quick Mask mode by pressing Q on the keyboard (faster option), and then chose the Gradient Tool by pressing G on the keyboard. I made sure to choose the Reflected Gradient option (the fourth icon along before the Mode drop-down). Next I drew a vertical line; the start point in the centre of the in-focus area, and the end where the transition from in-focus to out-of-focus is completed. This step may take you a few tries to get the effect you want, but just keep trying until you get your desired effect. Once you release the mouse button the area of focus will appear as a red band across the image, as shown above.

I pressed Q on the keyboard again to exist Quick Mask mode and return to Standard mode, the area to apply the focus effect to became surrounded by the "marching ants" selection lines shown above.


To create the blur I then went to Filter > Blur > Lens Blur. I already saw the image was starting to look effective, but experimented with the Lens Blur settings until I was happy with the result. If you are unhappy with the position of the focus area, cancel the Lens Blur and try drawing a line in a different place or with a different centre of focus.

After I added the Lens Blur I pressed Apple Key - D to remove the "marching ants" selection bounday. (If on a Windows PC/Laptop, it's CTRL-D). I wanted to boost the colour saturation to improve the effect, because model scenery is often brightly painted so enhancing the saturation helps trick the eye. I went to Image > Adjustments > Hue/Saturation and made the saturation higher until I was happy with the result.

I also increased the contrast of the image using the Curves adjustment. I went to Image > Adjustments > Curves and pressed 'Auto'. The tutorial I used said to change the curves myself but I found this made the image look worse, but 'Auto' made it look perfect.

This is the final outcome of my tilt-shift Photoshop tutorial, I'm really happy with the outcome and I really enjoyed experimenting with Photoshop and learning new techniques.
Edited Images
These are all my final tilt-shift edited images, I repeated the same techniques as my Photoshop tutorial except with different focus area positions, I also experimented with different saturations and contrast levels to see which looked best.

This image shows cars right outside of my house, although the photo isn't taken from above I saw a promising composition and knew that the tilt-shift effect would make the cars look like toys.


These 2 images show my back garden, taken from my bedroom window. I took these to experiment with taking photos from above to kick start my shoot, I knew straight after taking the photos that I could make my garden look model-like using tilt-shift.

This photo shows Park Street taken from the bottom of Park Street next to College Green, although it's not taken from above I thought it had a great composition and knew that a tilt-shift effect would be really effective on this image.

This image shows part of City Road Baptist Church and some graffiti in Stokes Croft, I took this photo whilst on the top deck of a double decker bus as I think it has a great composition. The tilt-shift effect makes the people look like toys, and the photo has a really busy inner city vibe.

This image shows the portway and Avon Gorge taken from the edge of Durdham Downs, I really like the vanishing point and reflections on this image, they're really effective. I chose to make this image black and white and change the tone because I think it lets you pay better attention to detail.

I like the tilt-shift in this image because you can see the details of the trees and the rocky cliff face, but everything else is blurred. The composition of this image is really effective and I also like the contrast and the tone.

This is my favourite image out of all my edited tilt-shift photos. I decided that this image would be less blurred than others so it still has a tilt-shift effect but you can still see all the details. I really like the reflections in this image and also the flowers at the front, it gives the image a really peaceful feel.
Evaluation:
Before this assignment I had never heard of tilt-shift photography, so this was all new and exciting. I think I worked well on my planning and especially well on my shoots and edited photos. I really enjoyed taking these photos because this meant I could travel to take them and I got to look at a really beautiful view, I also enjoyed learning new techniques which could come of great use in the future. If I could do this assignment again I would probably travel further afield and take images in more interesting places with a wider range of subjects. Altogether, I've really enjoyed this assignment and I'm really happy with my outcome.